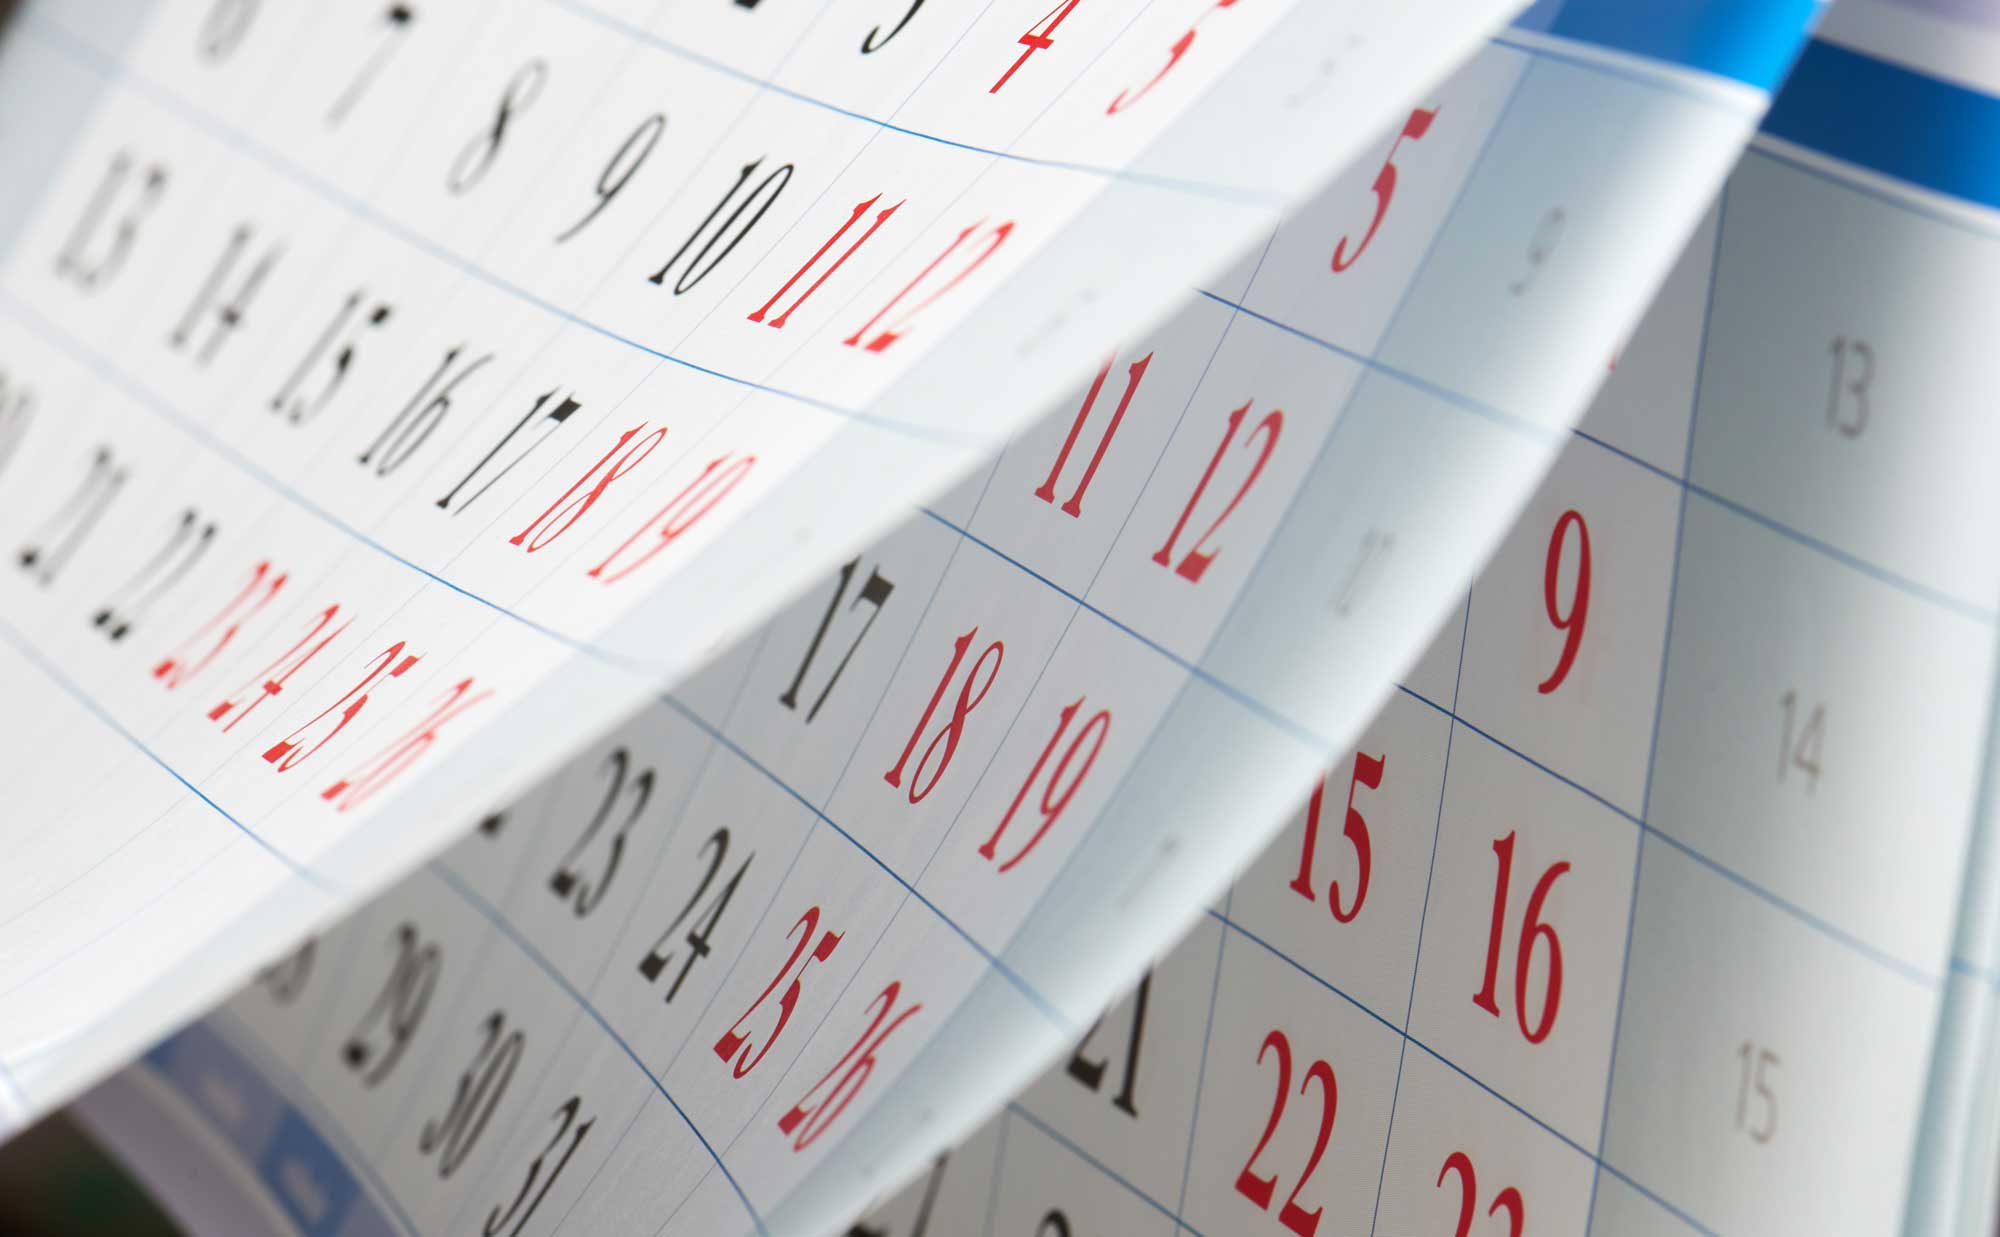
We’ve discussed whether an item requires calibration and what type of calibration is applicable, but how do you know how often you should have your equipment calibrated? What factors play into calculating an appropriate calibration interval? While only you and your facility can determine your required calibration intervals, below are some things to consider when setting said time frames.
First, I would like you to consider your industry’s standards, rules, and regulations. Many industries have a set minimum calibration interval for items frequently used in that specific field. These intervals are designed to improve the confidence that all equipment is functioning within stated specifications while enduring usage by technicians.
Second, I would like you to take into consideration the manufacturer’s specifications and suggested calibration interval. Many manufacturers have done extensive testing and research into the durability and resilience of the items they produce. They are aware that after a period of time, degradation can occur, and items must be reverified to ensure they are still within specifications. For example, many facilities have and utilize torque wrenches. Metal over the course of time may become more pliable, and the flexion in the rod inside the torque wrench may change. This can cause a change in the actual torque being produced by the wrench. By having a defined calibration interval, this change can be monitored, and any errors mitigated.
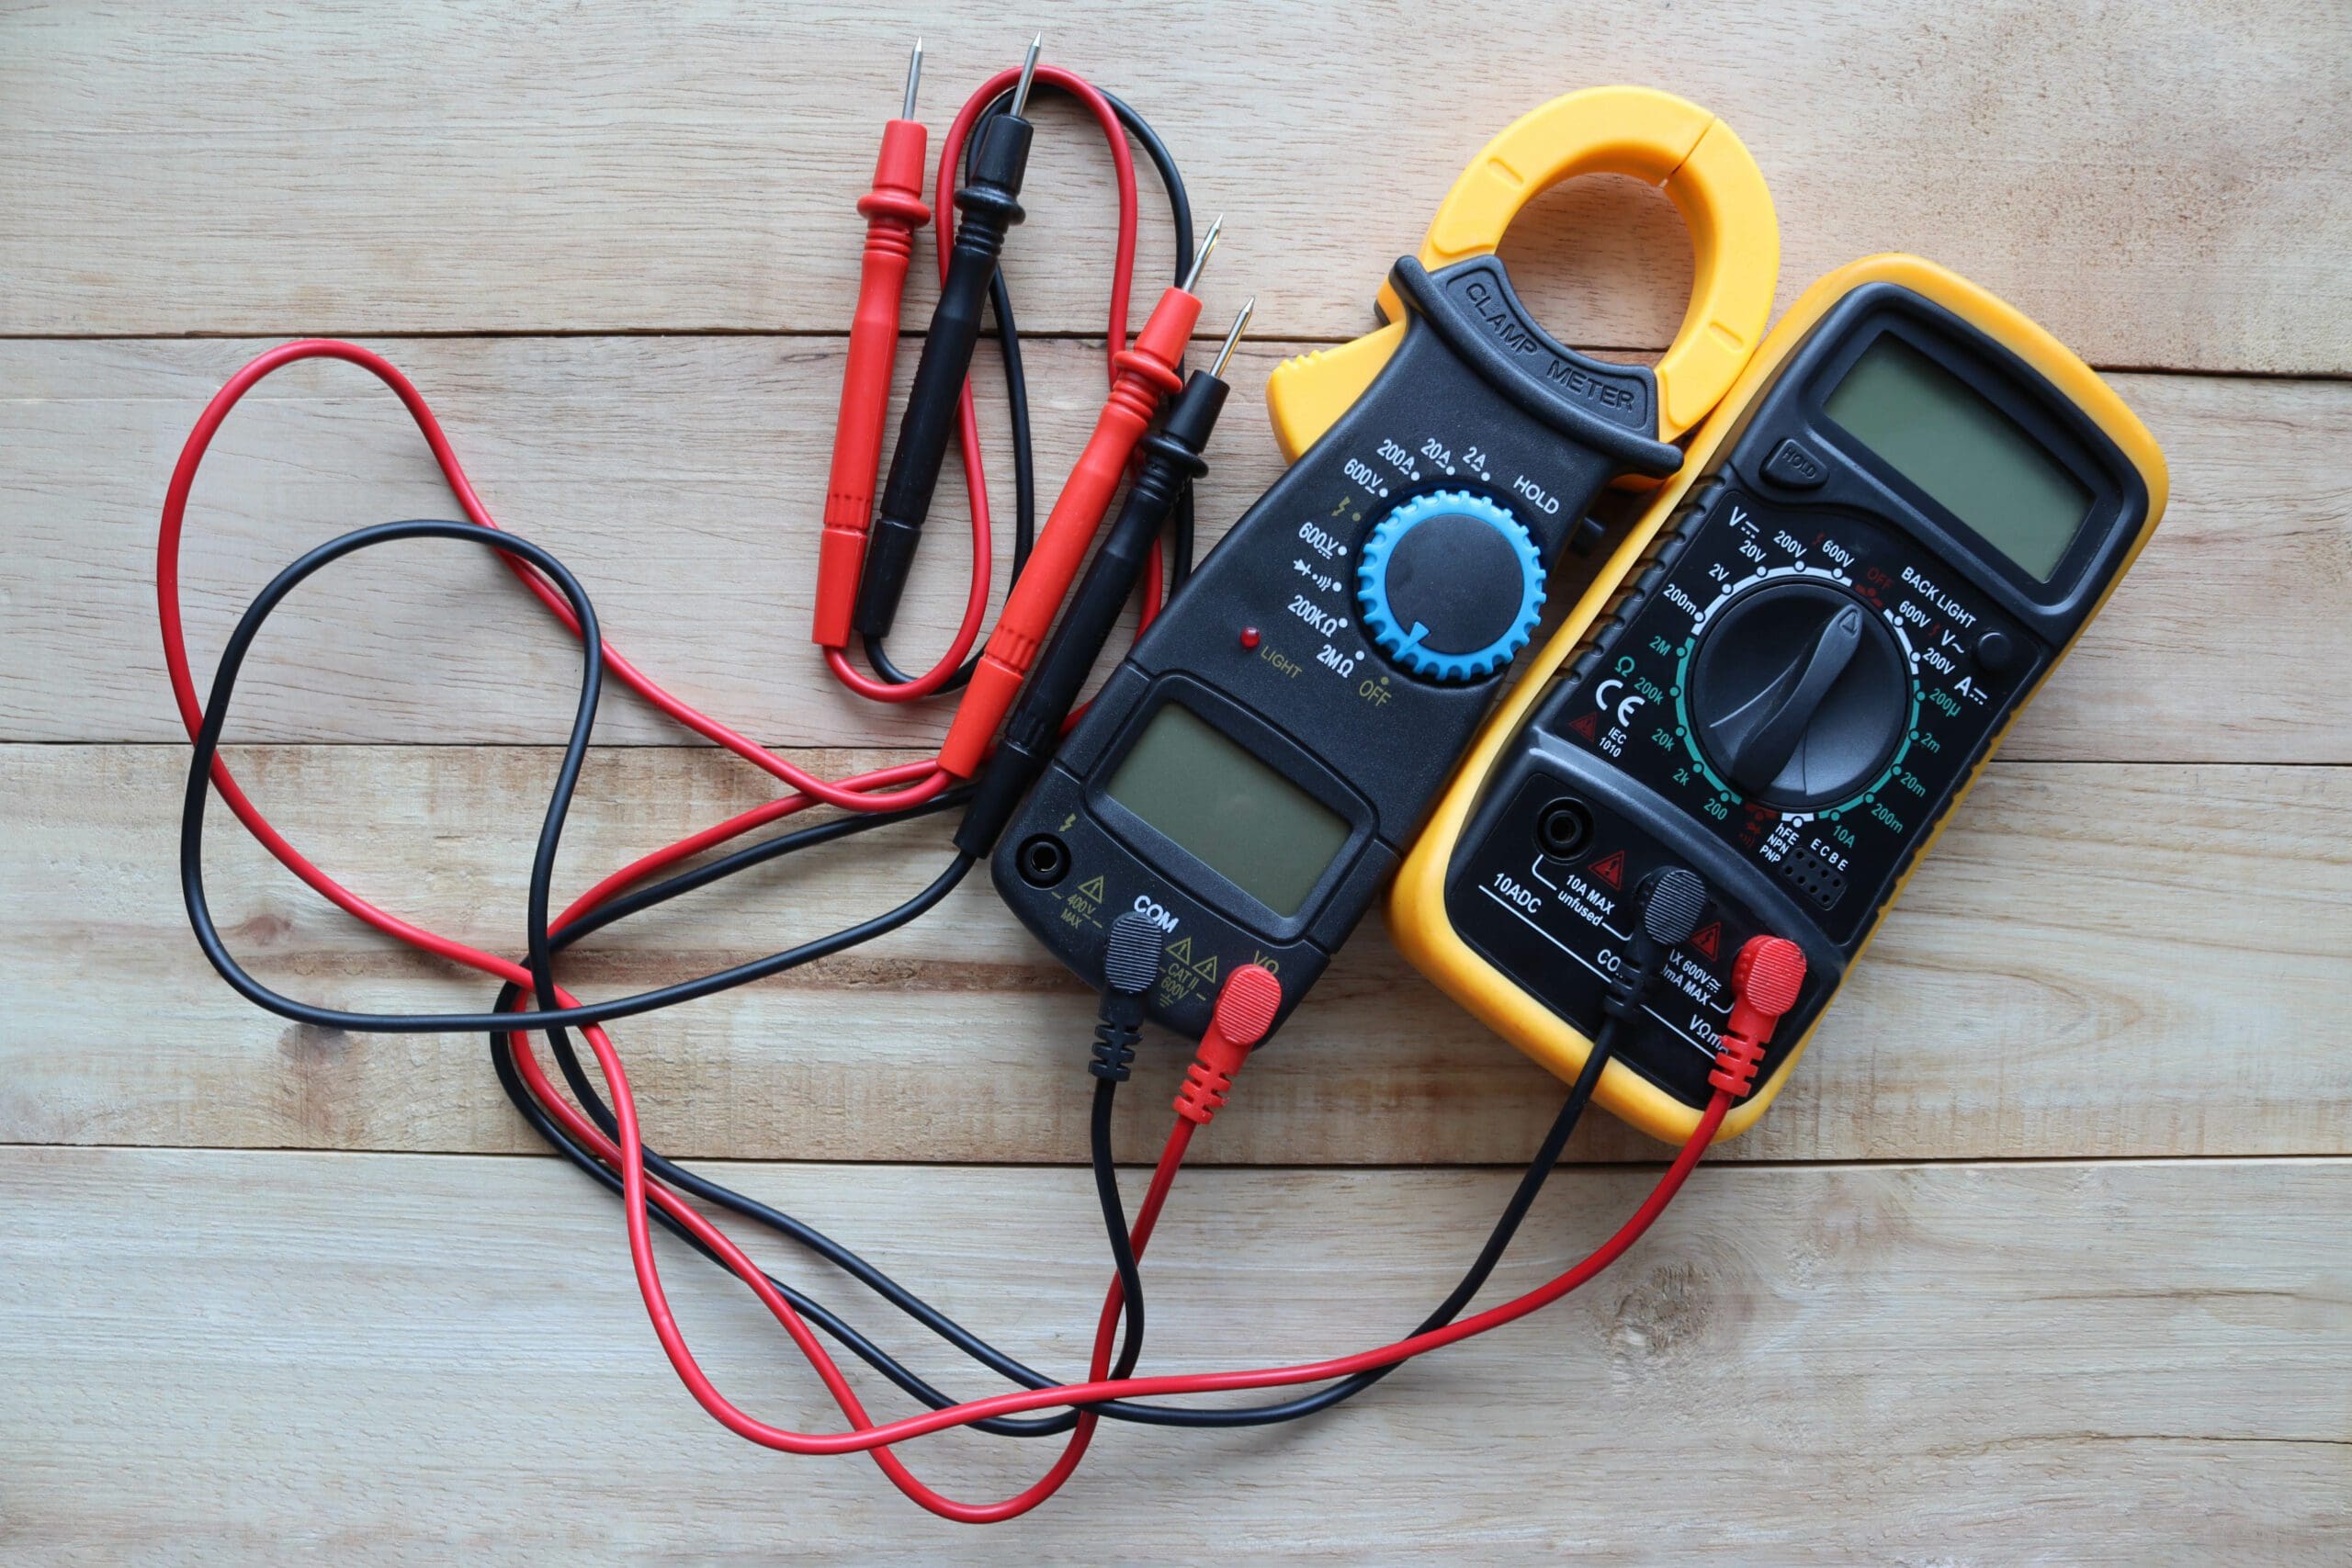
Next are environmental and usage factors. Where is the unit used and stored? Is it exposed to frequent changes in temperature and humidity? Is the equipment subject to dirt and debris in its daily operation? Is the item used frequently? These are all things that could contribute to justification to shorten or lengthen a calibration cycle. Whether it be dimensional or mechanical gaging or electronics, all equipment subjected to frequent usage or extenuating environmental factors is subject to degradation in one fashion or another.
Has the equipment been dropped, bumped, cracked, or damaged? If your answer is yes, and the item requires calibration (it is used for a qualitative or quantitative measurement), then you might want to consider having your item recalibrated. Even if there is no visible damage, but the item has been bumped or dropped, there could be internal damage, or something could be out of alignment.
While all mentioned factors are important, the risk factor weighs as one of the most important. Is the equipment required for a critical measurement on a production line? Would a recall be warranted if the equipment was found to be out of tolerance?
We would like to reiterate; a calibration lab may not make the determination on a calibration interval for any item coming into the lab. This must be specified by the customer based upon the factors stated above in accordance with their appropriate regulations, guidelines, and usage.
The overall goal of a calibration interval is to improve confidence your test equipment is functioning within required specifications over the course of time while minimizing your exposure to risk when warranted. Only you and your facility may determine what these intervals should be; however, we urge you to take into consideration the above-mentioned factors. Happy calibrating!
GET IN TOUCH
Shipping Address
Mailing Address
Phone Number
Fax Number
CONTACT
To request specific information or to have someone from the F. D. Hurka Metrology contact you, please fill out the contact form or click the button below to request a quote:
